You’ve got a tear in your patio screen — maybe a corner pulled away from its frame, maybe a dog nose punched a ragged hole in the mesh. The instinct is to assume you need to rescreen the whole panel (that means removing the old mesh entirely, stretching new material across the frame, and pressing it into the channel that holds it in place with a rubber rope called spline). But full rescreening runs $50–$150 per panel at a screen shop, and many damage situations don’t come close to requiring it. A targeted repair using screen-repair tape, a peel-and-stick patch kit, or a few dollars’ worth of materials from a hardware store will hold a small breach for a full season — sometimes longer. This guide lays out exactly which fix fits which damage type, what the materials actually cost in 2026, and the decision rule for knowing when to stop patching and commit to a full replacement.
| EDITOR'S PICK[Screen Repair Kit Easy DIY Proj…](https://www.amazon.com/dp/B0GHJD7KR5?tag=greenflower20-20) | Mid-tier[TOOLTRIZ Windows Screen and Scr…](https://www.amazon.com/dp/B0927SLHLR?tag=greenflower20-20) | Budget pick[by.RHO Window Screen Repair Kit…](https://www.amazon.com/dp/B0738M9P7S?tag=greenflower20-20) | |
|---|---|---|---|
| Includes tools | ✓ | — | — |
| Spline included | ✓ | — | — |
| Tape-based fix | ✗ | ✗ | ✓ |
| Mesh dimensions | 36"x90" | 48"x118" | — |
| Price | $15.99 | $11.99 | $8.79 |
| See on Amazon → | See on Amazon → | See on Amazon → |
Know Your Damage Before You Buy Anything
Matching the repair method to the damage type is the single biggest factor in whether a quick fix holds or fails in the first rain. Buying the wrong product wastes money and leaves you doing the job twice. Here’s how to read what you’re dealing with.
Small punctures and pinhole tears (under ½ inch): These are the easiest repairs in screened-enclosure work. The mesh around the hole is still structurally sound — fibers haven’t frayed far from the breach. A dab of clear screen-repair adhesive (sold under several brand names; the generic term is screen patch adhesive or fiberglass screen glue) wicks into the hole by capillary action and bonds the loose fibers back together. This Old House’s guide on screen repair notes that for punctures this small, adhesive alone — no patch material at all — is the most durable option because there’s no seam edge to lift.
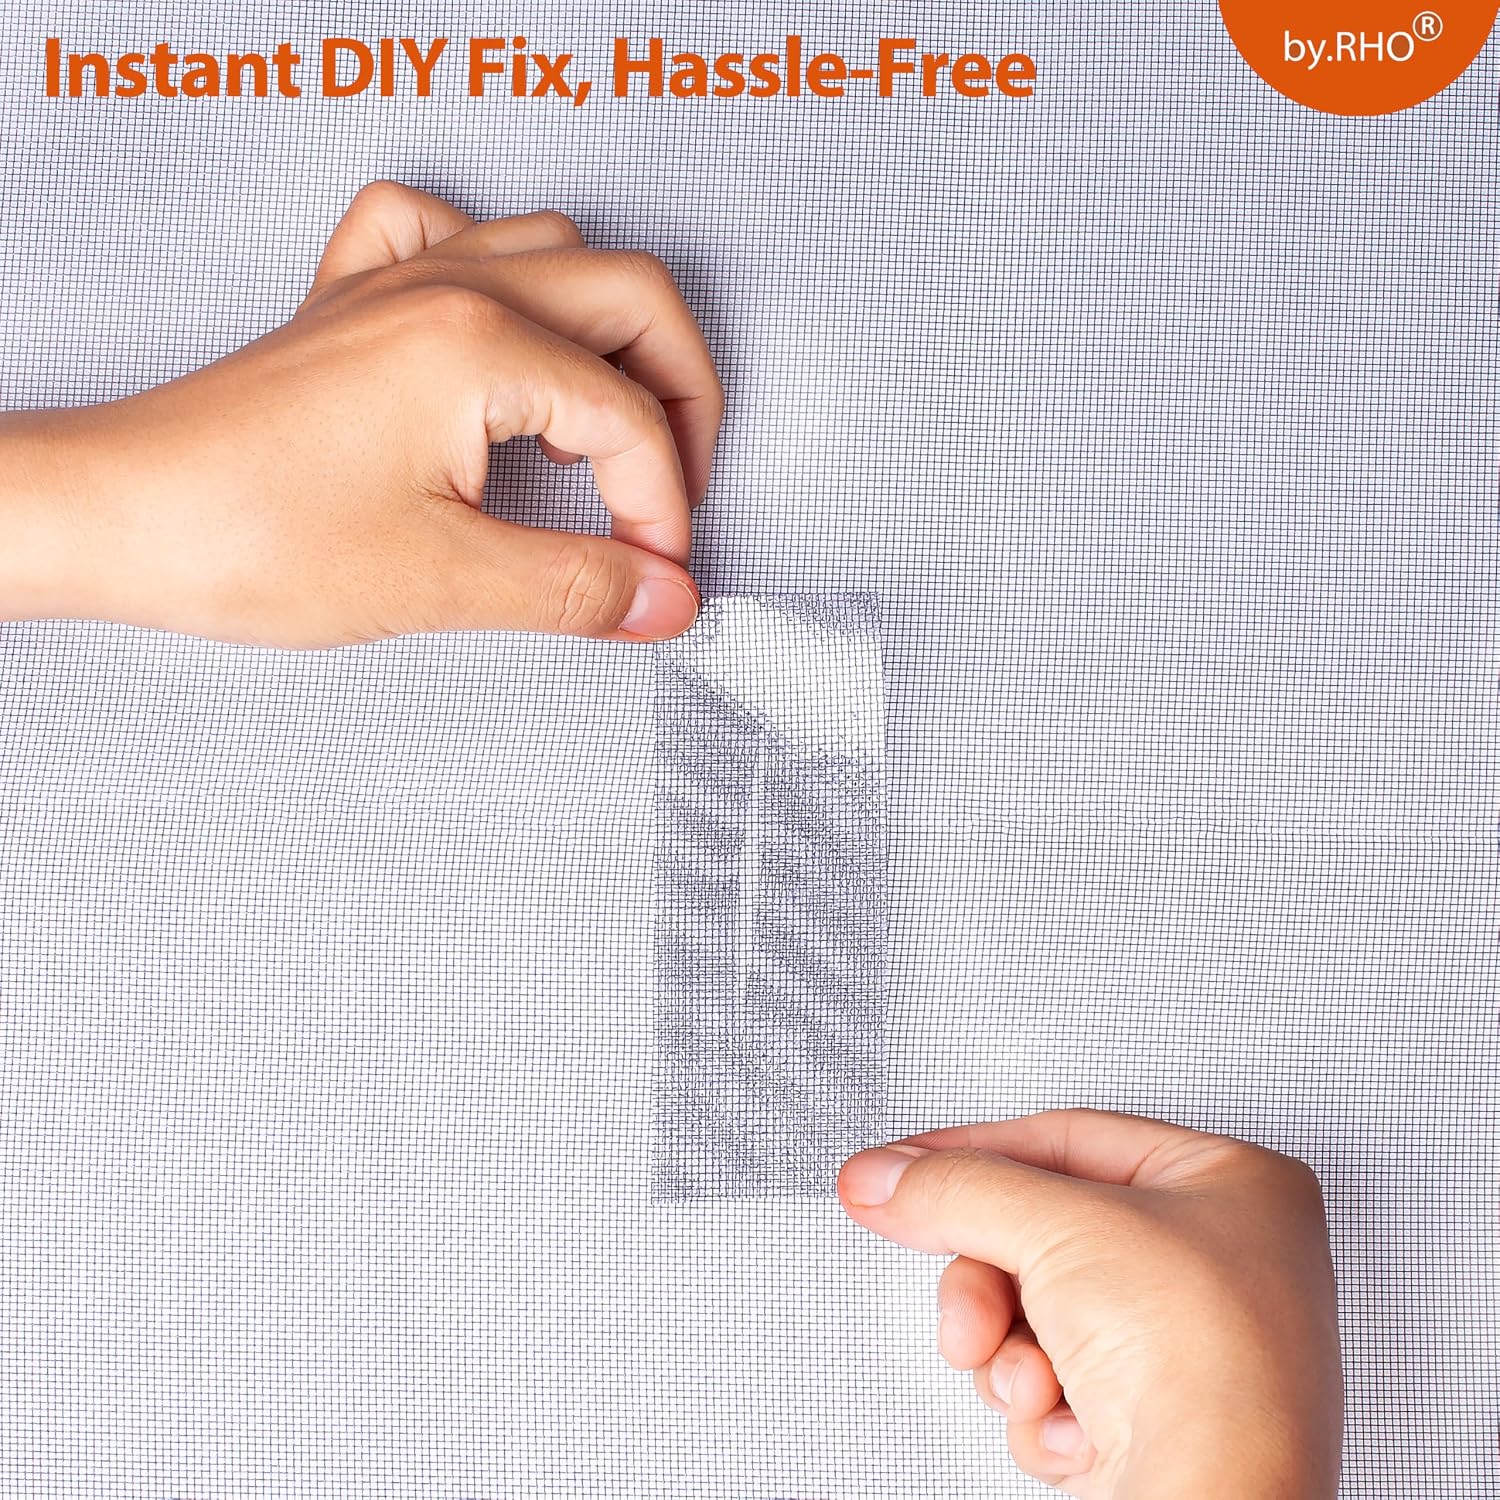
Tears from ½ inch to 3 inches: This is the sweet spot for peel-and-stick fiberglass patch kits. A patch kit is exactly what it sounds like: a pre-cut piece of screen mesh with a pressure-sensitive adhesive backing, sold in single-panel envelopes or multi-piece kits. You press it over the tear, smooth it down, and the adhesive bonds to the surrounding undamaged mesh. Family Handyman’s screen repair coverage consistently recommends cutting the patch at least 1 inch beyond the tear on all sides — that overlap is what creates the mechanical grip that resists wind flutter and bug intrusion.
Tears from 3 to 6 inches, or L-shaped corner tears: Here you’re at the edge of what a peel-and-stick patch handles reliably. The patch surface area starts to exceed what adhesive alone can anchor against a windy night. This is where screen-repair tape (a woven or mesh-backed tape, typically 2–4 inches wide) earns its place. You apply it to both sides of the tear, sandwiching the damaged mesh. The tape grips more total area than a patch, distributing stress over a longer seam rather than a single adhesive ring.
Spline-channel failure (mesh pulling out of the frame groove): This is a structural issue, not a mesh issue. The spline — the rubber rope that locks the mesh into the aluminum frame channel — has either dried out, cracked, or been pulled free. No patch kit addresses this. You need to reseat or replace the spline using a spline roller tool (under $10). Bob Vila’s roundup of screen repair kits identifies spline failure as the most commonly misdiagnosed “tear” — the mesh itself is intact, but a corner has popped out of its channel and looks like damage.
Damage over 6 inches, or multiple breaches in one panel: This is the rescreening threshold. At this scale, the cosmetic result of patching is poor, the failure rate goes up, and the cost-per-repair approaches what you’d pay for a full panel replacement anyway. Angi’s 2025 cost data puts professional rescreening of a standard patio panel at $55–$120, including labor, depending on mesh type and regional market. At that price, two or three rounds of patch attempts often exceed the replacement cost.
The Product Landscape: What’s Actually on the Shelf in 2026
Screen-repair adhesive: Clear, flexible, waterproof. Typically sold in small squeeze bottles. Best for pinhole punctures and minor fraying along a spline channel edge. No cutting or sizing required. Dries clear in most fiberglass and aluminum-frame applications. Not effective on solar-mesh or tightly woven insect-plus-privacy screens, where the weave is too dense to allow adhesive penetration.
Peel-and-stick fiberglass patch kits: The most broadly useful product for DIY screen repair. Sold as individual patches (roughly 3×3 inches to 5×7 inches) or multi-pack kits. The mesh is typically standard 18×16 fiberglass — the same material used in most residential porch and lanai panels — so the visual match is reasonably close. On darker-colored or pet-resistant polyester screens, the color match will be imperfect; manufacturers including Phifer (a leading US screen mesh manufacturer whose published spec sheets are a standard industry reference) offer charcoal and black patch materials, though retail availability is inconsistent.
Screen-repair tape: Woven fiberglass tape with pressure-sensitive backing. Works well on straight tears; less effective on jagged or diagonal ones. The 2-inch width is adequate for most home repairs; the 4-inch width is worth the slight premium for tears longer than 2 inches because it gives you more overlap on each side.
Pre-framed patch kits (aluminum frame inserts): A niche product designed for larger holes in rigid aluminum-frame screens. The kit includes a small aluminum frame with mesh already installed; you snap it over the damaged area. More visually polished than tape or peel-and-stick, and rated for outdoor UV exposure. The tradeoff: they only work where the surrounding mesh is flat and undamaged enough to support the clip-on frame.
By the numbers — quick-fix cost comparison (2026 retail)
| Repair Type | Typical Damage Size | Product Cost | Expected Lifespan |
|---|---|---|---|
| Screen adhesive | Under ½ inch | $4–$8 | 2–4 seasons |
| Peel-and-stick patch | ½ inch – 3 inches | $5–$12 | 1–2 seasons |
| Screen-repair tape | 2–6 inch tears | $6–$15 | 1–3 seasons |
| Pre-framed insert | 3–5 inch holes | $12–$22 | 2–4 seasons |
| Full panel rescreen | Any | $55–$120 (pro) | 5–10 years |
Technique Details That Determine Whether It Actually Holds
Owning the right product is half the battle; the application technique determines whether the repair lasts one season or three. Owners of patio screen enclosures consistently report in aggregated review threads that adhesion failures come from two sources: surface contamination and insufficient cure time.
Surface prep is non-negotiable. Wipe the mesh around the damage with isopropyl alcohol on a clean cloth before applying any adhesive-backed product. Screen mesh in an outdoor enclosure accumulates a thin film of dust, pollen, sunscreen, and oxidation that is invisible but completely blocks adhesive bonding. This Old House’s guide on window screen repair specifically calls out this step as the most skipped and most consequential.
Apply in dry conditions above 50°F. Most screen-repair adhesives and peel-and-stick products are pressure-sensitive acrylics. Below 50°F, acrylic adhesives lose significant tack; Family Handyman’s screen repair coverage cites temperature as the primary reason repairs fail in late-season applications. In Florida and Gulf Coast markets this is rarely a practical constraint — but for readers in the mid-Atlantic or Midwest doing late-fall repairs on a three-season porch, it matters.
Press firmly and hold. For peel-and-stick patches: after positioning, run a firm, flat object (the back of a spoon, a credit card) across the entire patch surface with real pressure. The adhesive activates under compression. A light press with a fingertip — the most common application method — leaves 30–40% of the adhesive area un-bonded, according to published adhesive manufacturer application guides from 3M (whose adhesive system specifications are widely cited in construction patch product datasheets).
For tape applications, bridge the tear — don’t cover it. Orient the tape perpendicular to the direction of the tear when possible. A tear running diagonally across a mesh panel experiences its greatest stress in the direction a wind gust would push the mesh outward. Tape applied perpendicular to that stress direction resists it most effectively.
Trim ragged edges before patching. Loose mesh fibers at the edge of a tear act as stress concentrators — they’re the first place a new tear initiates. Trim them cleanly with scissors before applying any patch or tape. This takes 30 seconds and meaningfully extends repair life.
The Decision Rule: Repair or Rescreen?
If you’ve reached this section, you’re probably sitting in front of a damaged panel trying to decide how much to invest. Here’s the decision framework, stated plainly:
If the damage is under 3 inches and the mesh is still anchored in its spline channel on all four sides: A peel-and-stick patch or screen-repair tape is the right call. Budget $10–$15, apply it correctly with the prep steps above, and you’ll likely get 1–2 seasons of solid performance.
If the spline has pulled out of the channel: Buy a spline roller and a 25-foot spool of replacement spline (around $8–$12 total). Re-seat the mesh. This is a 20-minute job that doesn’t require new mesh and returns the panel to full structural integrity.
If the damage is over 6 inches, involves multiple holes, or the mesh is visibly oxidized and brittle around the repair area: Stop patching. The panel is past its repair threshold. Angi’s 2025 cost data shows that professional rescreening of a standard 3×7 patio panel runs $55–$120 depending on mesh grade and region — a sound investment that resets the clock for another decade. At this project scale, it’s also worth considering whether the rest of the enclosure’s panels are approaching the same condition; rescreening one panel in a visibly aging enclosure often leads to a second call within the same season.
If you’re managing a rental property or a client’s installation with multiple panels: The math shifts. Patch kits are a cost-effective tool for keeping a property presentable between scheduled maintenance cycles — not a permanent solution. Build a simple inspection calendar: any panel with breach damage over 3 inches, or any panel where the mesh resists gentle pushing (a sign of brittleness), gets flagged for full replacement at the next scheduled service visit.
The $10 fix genuinely works — when you use it on the right damage, with the right surface prep, in the right conditions. The mistake is using it as a default when the situation calls for a $75 panel replacement. Know the threshold, apply the decision rule, and you’ll spend less time re-doing repairs and more time actually using the patio.