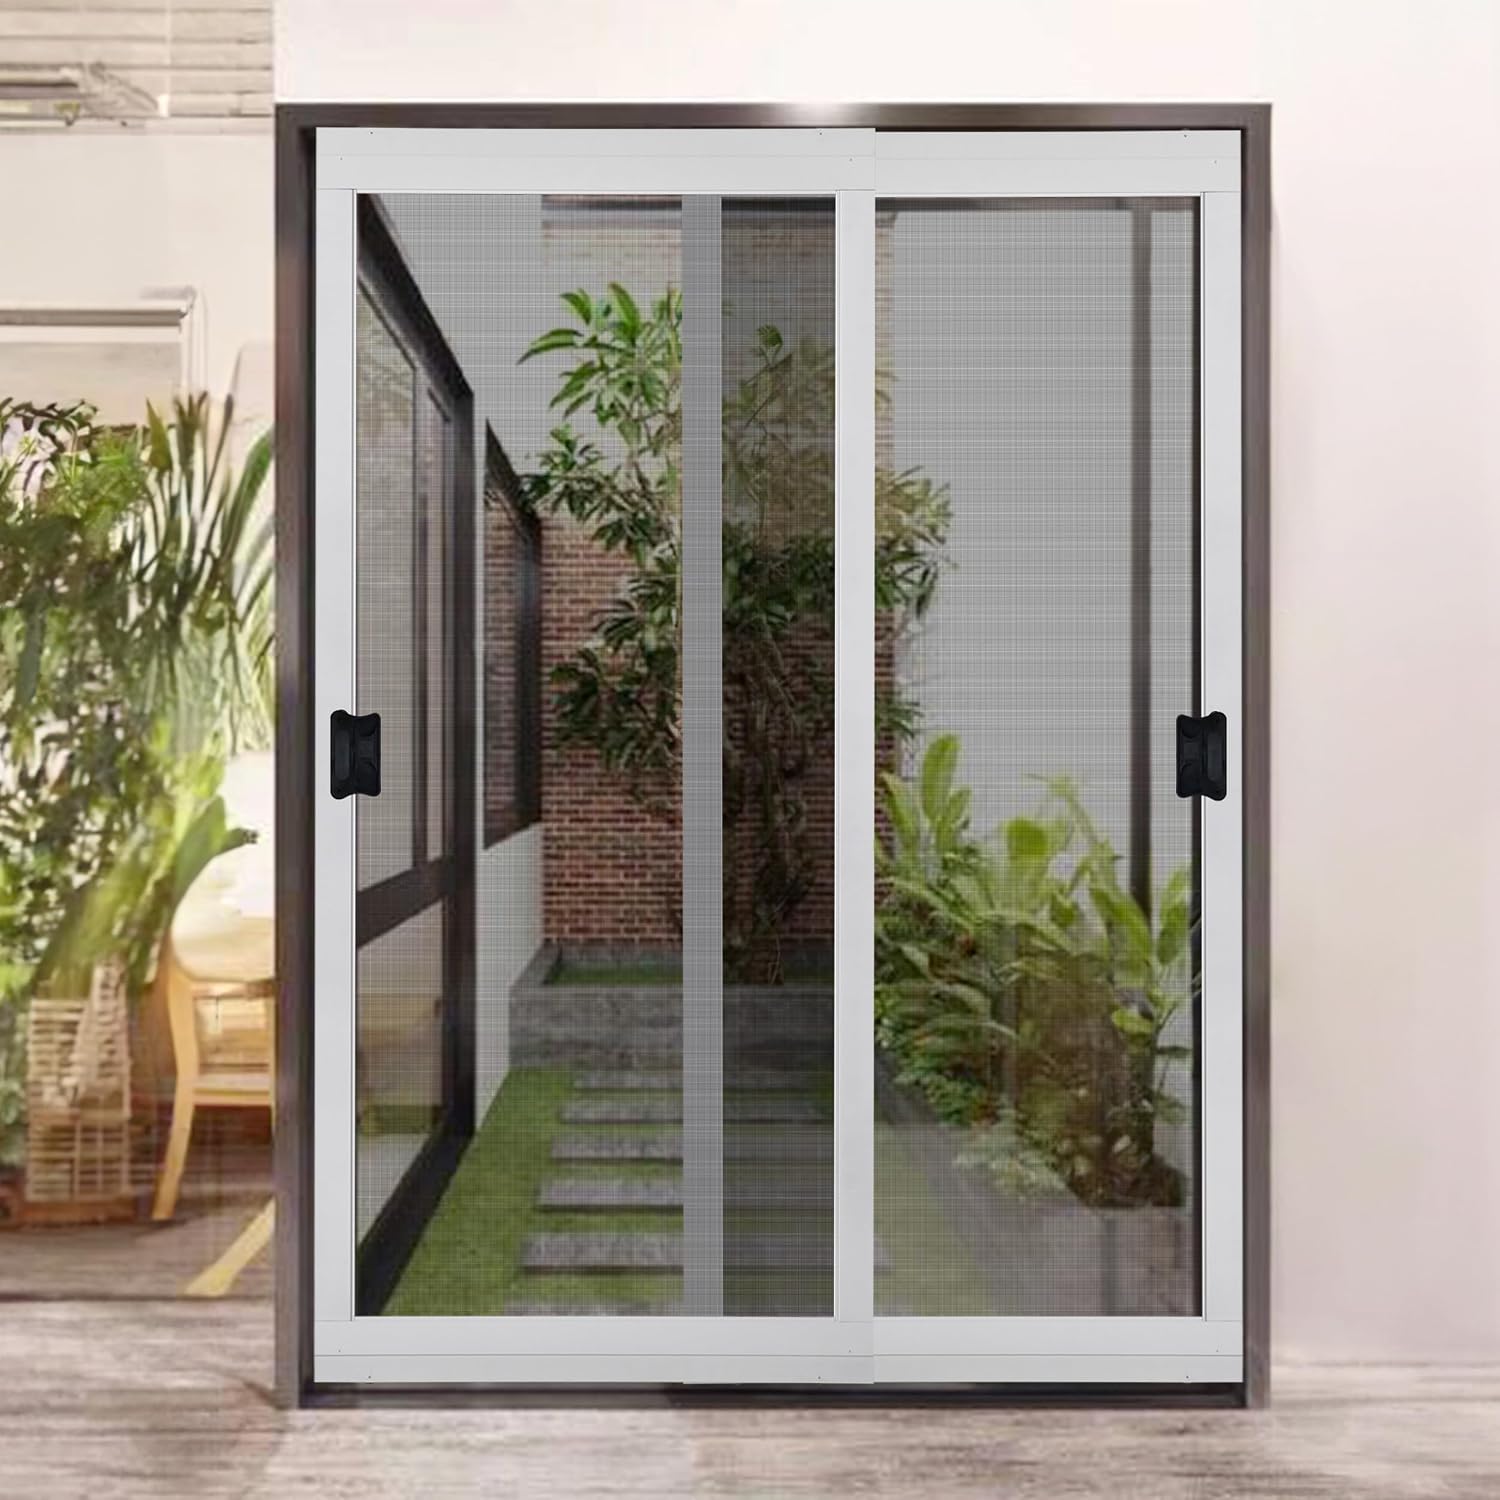
A sliding patio screen door is the panel that rolls along a track at the top and bottom of a sliding glass door opening to keep insects out while letting air flow through. Unlike a hinged screen door, it slides left or right on a roller-and-track system so it doesn’t swing into furniture or foot traffic — which makes it the default choice for most patio and lanai openings. If your old screen is torn, your frame is bent, or you’re finishing a new outdoor room and need a door from scratch, a KD kit — short for “knock-down,” meaning it ships flat and assembles on-site — is typically the most practical starting point. What looks like a simple purchase gets complicated fast: frame wall thickness, mesh type, and roller quality vary widely across the $30–$250 kit market, and those differences determine whether your door is still rolling smoothly in three years or rattling off its track in three months. This guide walks through those tradeoffs honestly, with the math shown, so you can make a confident call before anything ships to your door.
What “Ready to Assemble” Actually Delivers — and Where It Falls Short
The phrase “ready to assemble” (RTA) appears on virtually every KD screen door kit at Home Depot, Lowe’s, and specialty screen suppliers. In practice it covers a wide range of realities.
What it genuinely means: The frame corners (called corner keys or corner inserts) are pre-punched or pre-drilled, the mitered aluminum extrusions are cut to approximate standard widths, and basic hardware — rollers, a latch, a handle pull, and spline (the rubber cord that holds mesh into the frame channel) — is included in the box. A reasonably handy person with a rubber mallet and a spline roller tool can complete the assembly in 30–60 minutes. This Old House’s screen door installation guide confirms the assembly sequence is beginner-accessible once the frame is square.
What it doesn’t mean: It doesn’t mean the kit will fit your specific opening without modification. Standard KD kits are built around nominal widths of 30”, 32”, 36”, and 48”, but real patio openings — especially on older homes or custom builds — often run a quarter-inch to a half-inch outside those dimensions. More importantly, “ready to assemble” says nothing about frame wall thickness, roller load rating, or mesh grade. Those three variables are where the real comparison work lives.
Frame Wall Thickness: The Number Most Listings Bury
Aluminum screen door frames are specified by wall thickness, the measurement of the aluminum extrusion’s wall in thousandths of an inch. Budget kits commonly run 0.020”–0.025” wall thickness. Mid-grade contractor-preferred frames step up to 0.040”–0.050”. The practical difference: thinner-wall frames flex noticeably when a child or pet leans on the screen, and the corner keys — the plastic or die-cast inserts that hold the mitered corners together — tend to work loose in lighter frames within a season or two of daily use.
Bob Vila’s overview of screen door options notes that heavier extruded frames hold corner tolerances better over time, which directly affects how smoothly the door tracks. For any opening wider than 36” or in a high-traffic household, published specs suggest staying at or above 0.040” wall thickness.
Rollers: The Part That Actually Makes or Breaks the Install
Rollers are the small wheel assemblies that ride in the bottom track (and sometimes a top guide channel). Budget kits almost universally include plastic or nylon rollers. Mid-grade kits include steel-bearing or tandem-roller assemblies. The difference matters more than most shoppers expect:
- Single nylon rollers work fine for light-traffic openings in dry climates. Owners consistently report they degrade quickly in sandy or gritty environments — common on Florida lanais and Texas patios — because debris embeds in the softer material and causes the door to skip or drag.
- Tandem steel-bearing rollers cost roughly $8–$15 more per door in parts but reviewers on contractor supply forums note they routinely last 5–8 years in moderate-traffic applications without replacement.
If you’re buying a kit and then upgrading rollers separately, the Family Handyman screen door installation guide recommends sourcing replacement rollers before the assembly so you can verify the roller housing fits the frame’s bottom rail channel — not all roller cartridges are interchangeable across frame profiles.
Pet Mesh: What the Upgrade Costs and When It Pays Off
Standard fiberglass insect screen mesh — the gray or charcoal material that ships in most KD kits — is rated at roughly 18×16 mesh count (18 strands per inch horizontally, 16 vertically) and carries a wire diameter around 0.011”. It screens insects well and has decent visibility, but it’s not designed to resist the lateral force of a dog pressing against it or a cat hooking claws into it. One medium-sized dog can push through standard mesh in a matter of weeks.
Pet screen mesh (also sold as “pet-resistant” or “super screen”) is a heavier-gauge vinyl-coated polyester product. Manufacturer specs put typical pet screen at 0.030”–0.040” diameter strands, roughly 3–4× the mass of standard fiberglass mesh. This comes with tradeoffs:
By the numbers — mesh comparison at a glance:
| Mesh Type | Typical Wire Diameter | Relative Visibility | Approx. Material Cost (per sq. ft.) |
|---|---|---|---|
| Standard fiberglass 18×16 | 0.011” | High | $0.15–$0.25 |
| Aluminum insect screen | 0.011” | Moderate | $0.20–$0.35 |
| Pet-resistant polyester | 0.030–0.040” | Moderate-low | $0.55–$0.90 |
| Solar/privacy mesh (5–10% openness) | Varies | Low | $1.00–$2.50 |
Sources: published spec sheets from Phifer Inc. (BetterVue and PetScreen lines) and Saint-Gobain ADFORS product documentation, current as of Q1 2026.
The visibility reduction with pet mesh is real. Because the strands are thicker, the weave blocks more light — owners who install it on south- or west-facing openings sometimes report the porch feels noticeably dimmer. If your opening faces a view you want to preserve, or if your patio relies on natural light, that tradeoff deserves weight alongside the durability gain.
When pet mesh clearly wins: Any household with a dog over 20 lbs., any installation where the screen is the primary barrier between the pet and the outdoors, and any opening that would cost more than $80 in labor to re-screen after mesh failure. At $0.55–$0.90/sq. ft. versus $0.15–$0.25/sq. ft. for standard mesh, the upgrade on a standard 36”×80” door panel runs approximately $9–$15 more in mesh cost alone — a straightforward break-even calculation.
When to skip it: A small-dog or cat-only household where the pet doesn’t lean on screens, combined with a view-sensitive or dim orientation. Standard fiberglass with a properly tensioned spline is meaningfully easier to rescreen if puncture damage occurs, because standard mesh is sold at every hardware store and re-splined in 20 minutes.
KD Kit Tiers and the Decision Matrix
By 2026 the KD sliding screen door kit market has consolidated around three recognizable tiers. Angi’s cost data for screen door installation puts the full installed cost (materials plus labor) at $100–$350 for standard sliding screens, with the kit-only component typically running $30–$180 depending on frame gauge and included hardware.
Tier 1: Big-Box Commodity Kits ($30–$75)
Brands like Prime-Line Products and Frost King dominate this segment at Home Depot and Lowe’s. Frame wall thickness typically runs 0.020”–0.025”. Rollers are single nylon. Mesh is standard fiberglass. These kits are entirely appropriate for:
- A rental property repair where budget matters more than longevity
- A secondary door that gets low seasonal traffic
- A first-time builder learning the assembly process before committing to a higher-end frame
Owners consistently report the corner keys in this tier work loose after 12–18 months of daily use in warm climates. Budget for re-tightening or corner-key replacement in year two.
Tier 2: Mid-Grade Contractor-Preferred Kits ($80–$150)
Companies like Pemko, Phifer, and regional aluminum suppliers serve this tier. Frame wall thickness steps up to 0.040”+. Tandem or steel-bearing rollers are either included or available as a listed upgrade. These kits handle pet mesh upgrades well because the heavier frame resists the additional tension that thicker mesh places on the corner keys during spline installation.
This is the tier where the “ready to assemble” promise most closely matches the marketing copy. For a design-forward homeowner who’s treating their patio as a year-round entertaining space, this tier delivers durability without the cost or lead time of a custom-fabricated frame.
Tier 3: Custom-Cut Aluminum Frames ($150–$250+ plus mesh)
Screen room and lanai specialty suppliers — including companies that serve the Florida and Texas enclosure market — offer KD frames cut to exact dimensions with heavy-wall extrusions (0.050”+) and commercial-grade corner hardware. These are specified when the opening is non-standard, when the door needs to match an existing aluminum enclosure system’s profile, or when the installation is part of a larger screen room project where visual consistency matters.
At this tier, “ready to assemble” means the frame arrives cut and labeled, but the assembler is expected to understand frame squaring, track shimming, and proper spline tension — skills that are straightforward after one or two installs but can produce a frustrating first attempt without preparation. The Family Handyman guide’s section on squaring screen door frames covers the technique clearly for anyone approaching it the first time.
The Decision Rule
If you’re standing at the decision point right now, here’s the honest if/then:
If the door sees light use (one adult household, no pets, seasonal patio): A Tier 1 commodity kit with standard fiberglass mesh will serve you for 3–5 years. Spend the savings on a quality spline roller tool — it’s the one piece of equipment that determines whether the mesh seats properly regardless of mesh grade.
If the door is in a high-traffic household with pets or kids, or if you’re in a sandy/gritty outdoor environment: Step to Tier 2, upgrade to tandem steel rollers if the kit doesn’t include them, and install pet mesh. The total incremental cost over a Tier 1 kit is typically $40–$80 — less than one rescreening labor call.
If the opening is non-standard, you’re matching an existing aluminum enclosure, or this door is part of a larger lanai or screen room project: Get a custom-cut Tier 3 frame from a specialty supplier. The fit matters more than any hardware upgrade, and a door that doesn’t track square will consume more time in adjustments than the cost difference justifies.
The kit is almost never the problem. The measurement, the roller selection, and the mesh tension are where installs succeed or fail — and all three are within reach with a 30-minute prep before assembly begins.